Condo insurance

Switching insurance providers is a personal decision, and it often comes down to a mix of cost, coverage, and how well your insurer supports you when you need them. If your current provider no longer feels like the right fit, it’s completely reasonable to explore other options.
You may consider switching if your rates are no longer affordable, your coverage no longer meets your needs, or your premium keeps increasing at renewal.
No matter the reason, the most important part is switching the right way. If the timing isn’t right, you could end up with a gap in coverage, leaving you uninsured, facing fines, or causing issues with your landlord or lender. In this blog, we’ll walk you through how to switch insurance providers smoothly and safely, without putting your coverage at risk.
Key takeaways
Switching insurance companies is straightforward if you time it correctly and choose a provider that meets your needs. Make sure you:
Whether you’re changing your car, home, or tenant insurance provider, the process is largely the same, and you can usually make the switch without any repercussions. Follow these steps to transition smoothly from one insurance company to another:
Before switching insurance providers, take a look at your current policy and note the key details, including:
Most policies automatically renew once a year, so if you’re planning to switch, it’s best to start comparing options well before your renewal date. This gives you time to reassess your needs, whether your home’s value has increased or you’ve accumulated more personal belongings, and decide what coverage limits or protections you want to adjust.
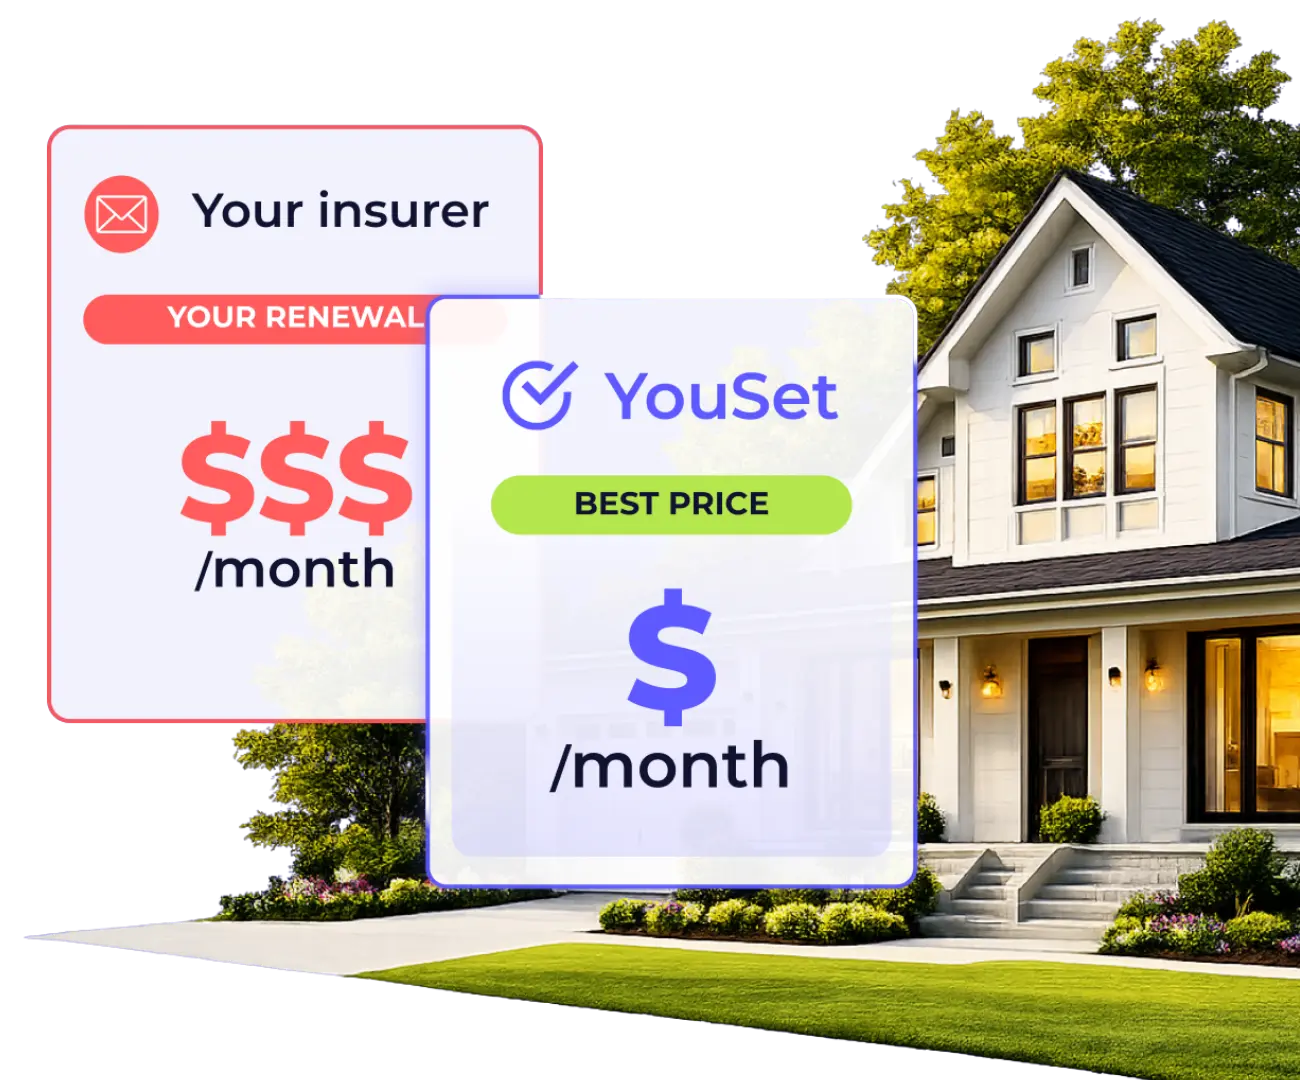
Begin shopping around for policies with lower premiums, better customer service, or just generally, more options. That said, make sure you’re comparing apples to apples. A cheaper policy isn’t always better if it cuts important protections or significantly increases your deductible.
Two policies can look similar at first glance, but offer very different levels of protection once you dive into the details. Always compare the same coverage types, similar limits, and similar deductibles-not just the final price.
This is where digital insurance brokers like YouSet come in. Instead of contacting multiple insurers one by one, you can compare quotes from several providers in one place and purchase your policy entirely online.
Once you’ve chosen your new policy, select the start date. Make sure it begins the same day your old policy ends, or one day before (just to be safe).
Double-check that your new policy meets any requirements from your financing or leasing company, mortgage lender, landlord, or condo association. It’s also important to note that you should never cancel your existing insurance before your new policy is active, as this can lead to coverage gaps, fines, or complications with your lender or landlord.
Only cancel your old policy after your new one is fully confirmed and in effect. Follow the cancellation instructions outlined in your policy documents, which may involve cancelling online, calling customer service, or submitting a written cancellation request.
Keep copies of your cancellation request and any confirmation you receive as proof that everything was processed correctly.
To avoid accidental cancellations or lapses in coverage, make sure all payments are properly set up during the transition. This includes:
Once your new policy is active, take a few minutes to update your records and share the new proof of coverage with your landlord, lender, or leasing company, and update your vehicle registration if needed.
Be sure to save and store your new policy documents for easy access. Keeping digital copies can make life easier if you ever have to reference them quickly.
You might have a few questions if you’re thinking of switching insurance providers. Here are some quick, straightforward answers to help you feel more confident before making the move.
YouSet is a technology-driven insurance platform that simplifies buying and renewing insurance. Combining proprietary technology and the support of AMF and RIBO licensed brokers, we’re making it faster and easier to buy home and car insurance online from top insurers for less.
Either way, you win. Terms and conditions apply.*


![PC Home Insurance vs. YouSet: Pros and Cons [2026]](https://youset.ca/wp-content/uploads/2026/05/PC-Home-Insurance-vs.-YouSet.webp)